Get Started with React Native: A Complete Step-by-Step Installation Guide for Mac Users
Set Up Your Mac for React Native Development Like a Pro with This Easy-to-Follow Guide


Step 01: Install Homebrew: If you don't have Homebrew installed on your Mac, open the Terminal app and paste the following command:
/bin/bash -c "$(curl -fsSL https://raw.githubusercontent.com/Homebrew/install/HEAD/install.sh)"
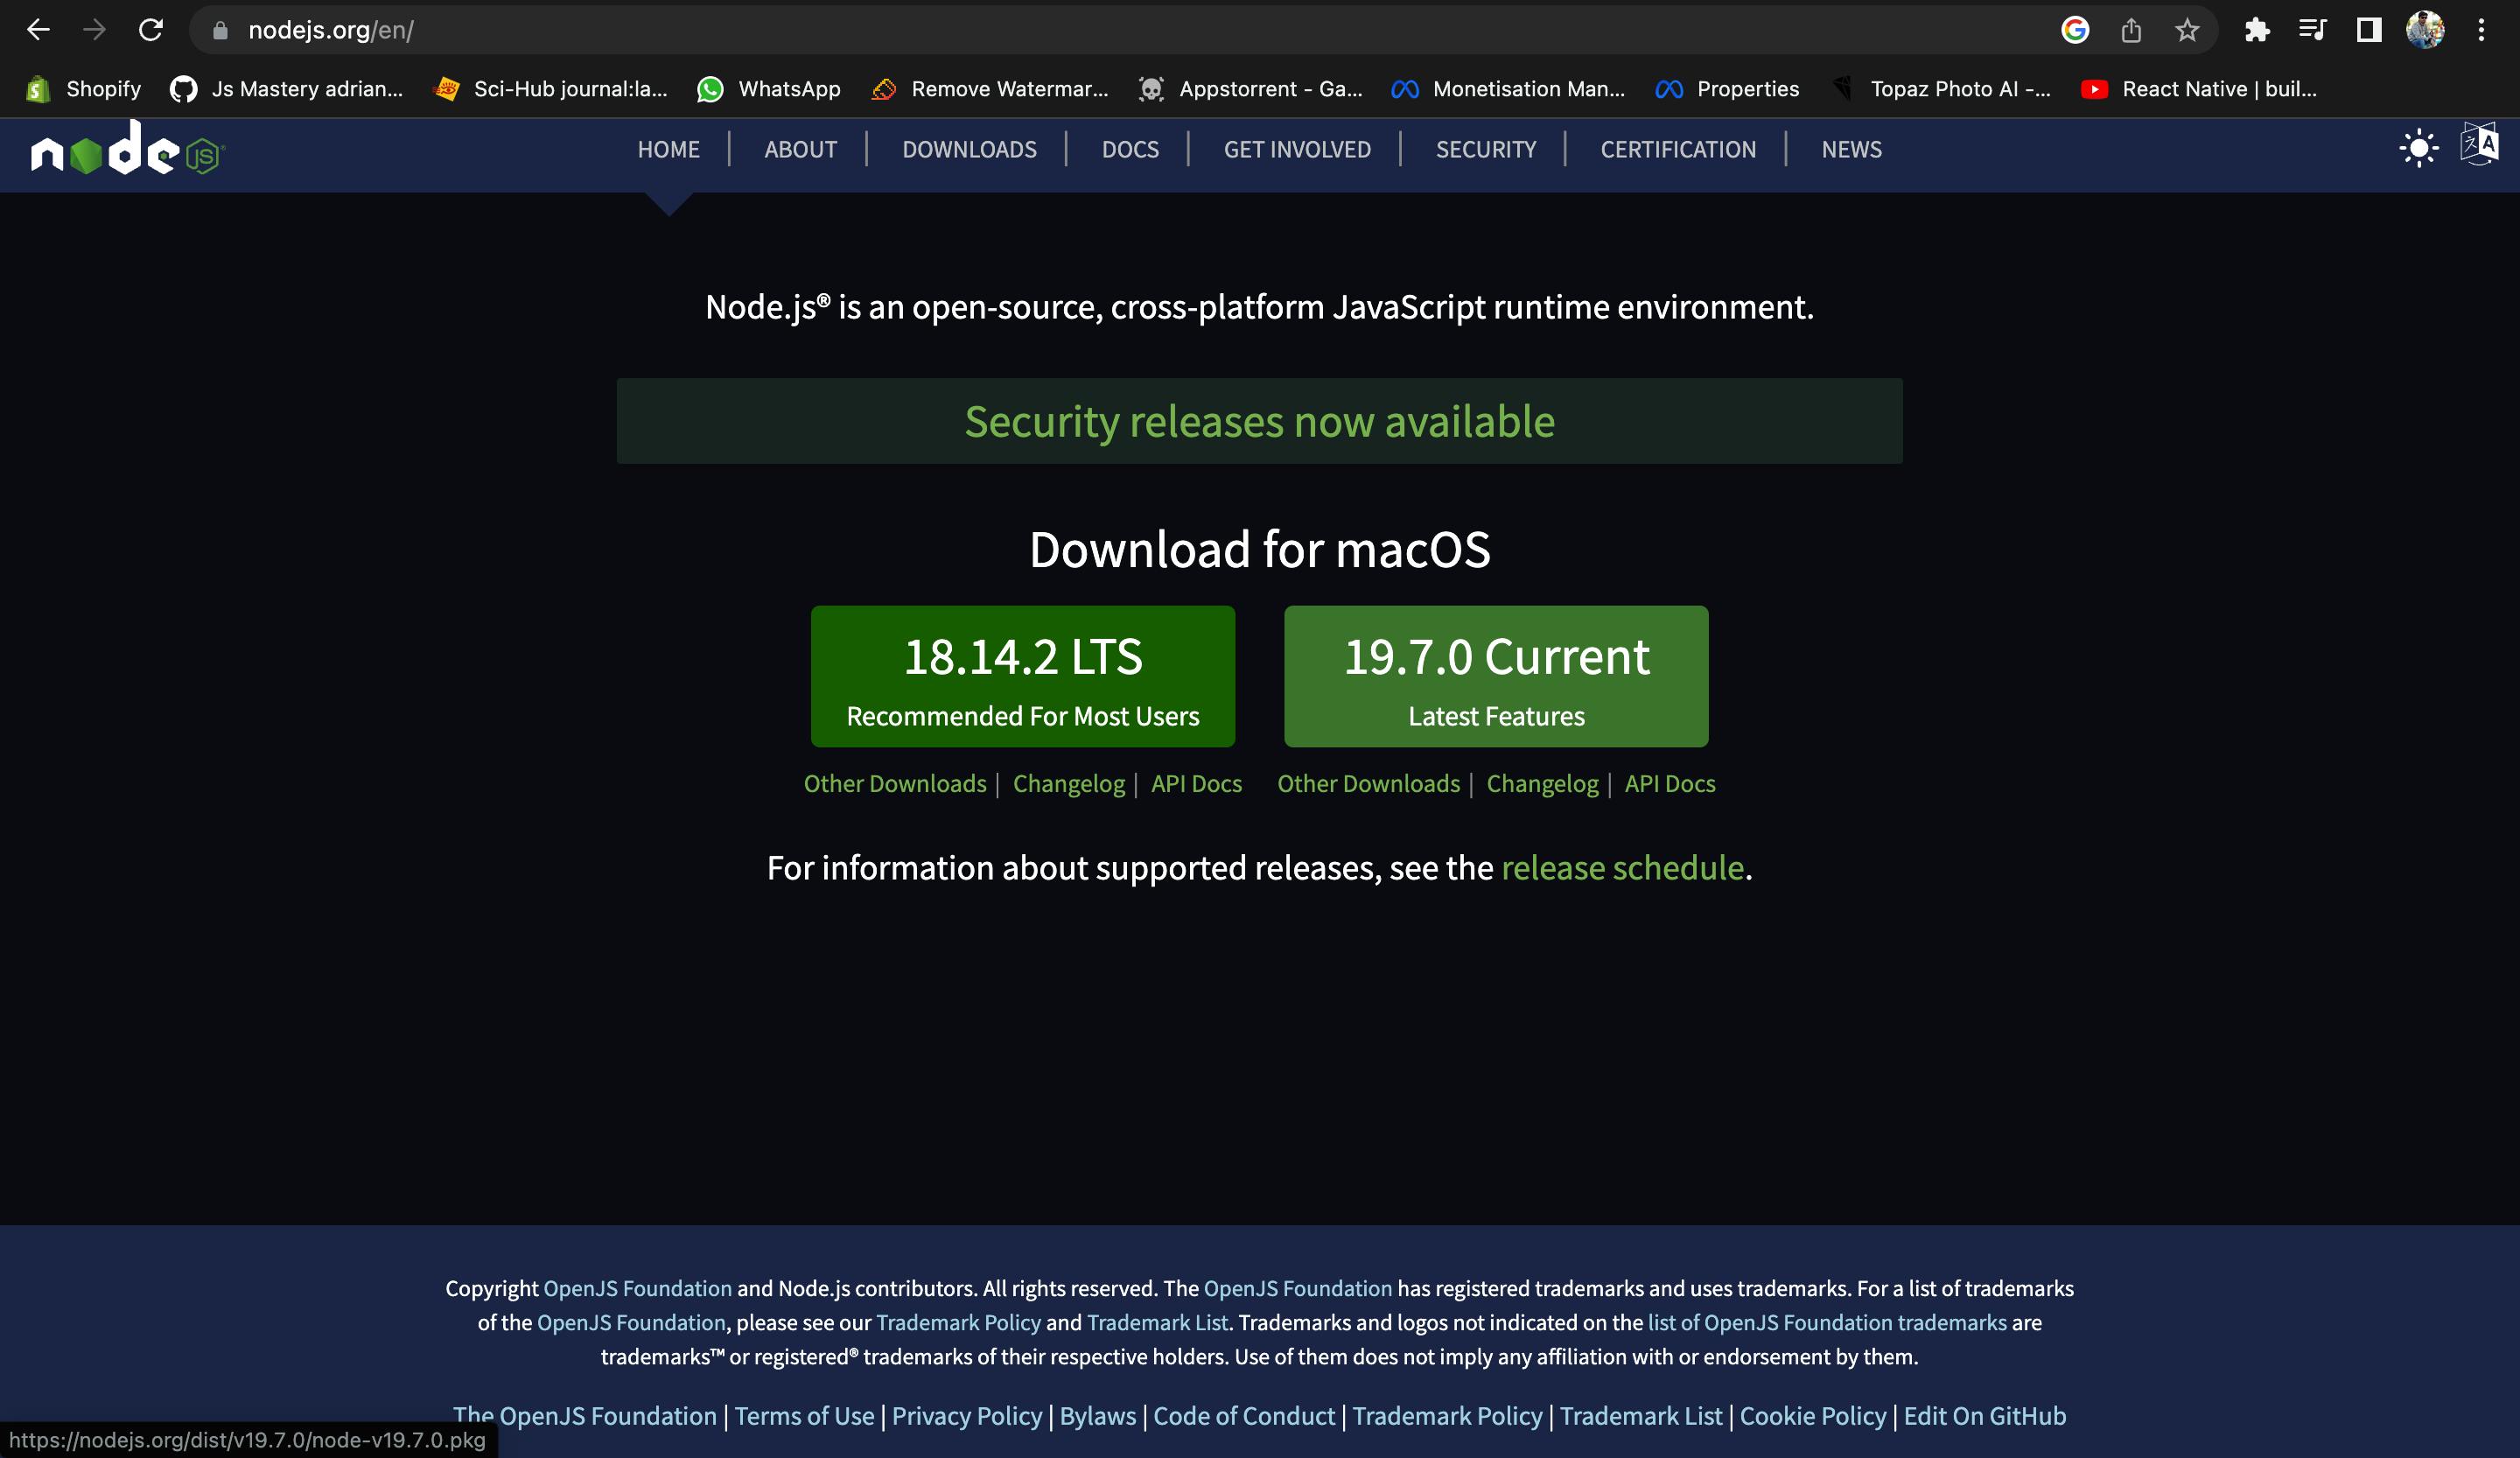
Step 02: Install Node.js: React Native requires Node.js to be installed on your Mac. Open the Terminal app and run the following command to install Node.js using Homebrew:
brew install node
Or simply visit https://nodejs.org/en/ and download any available version:
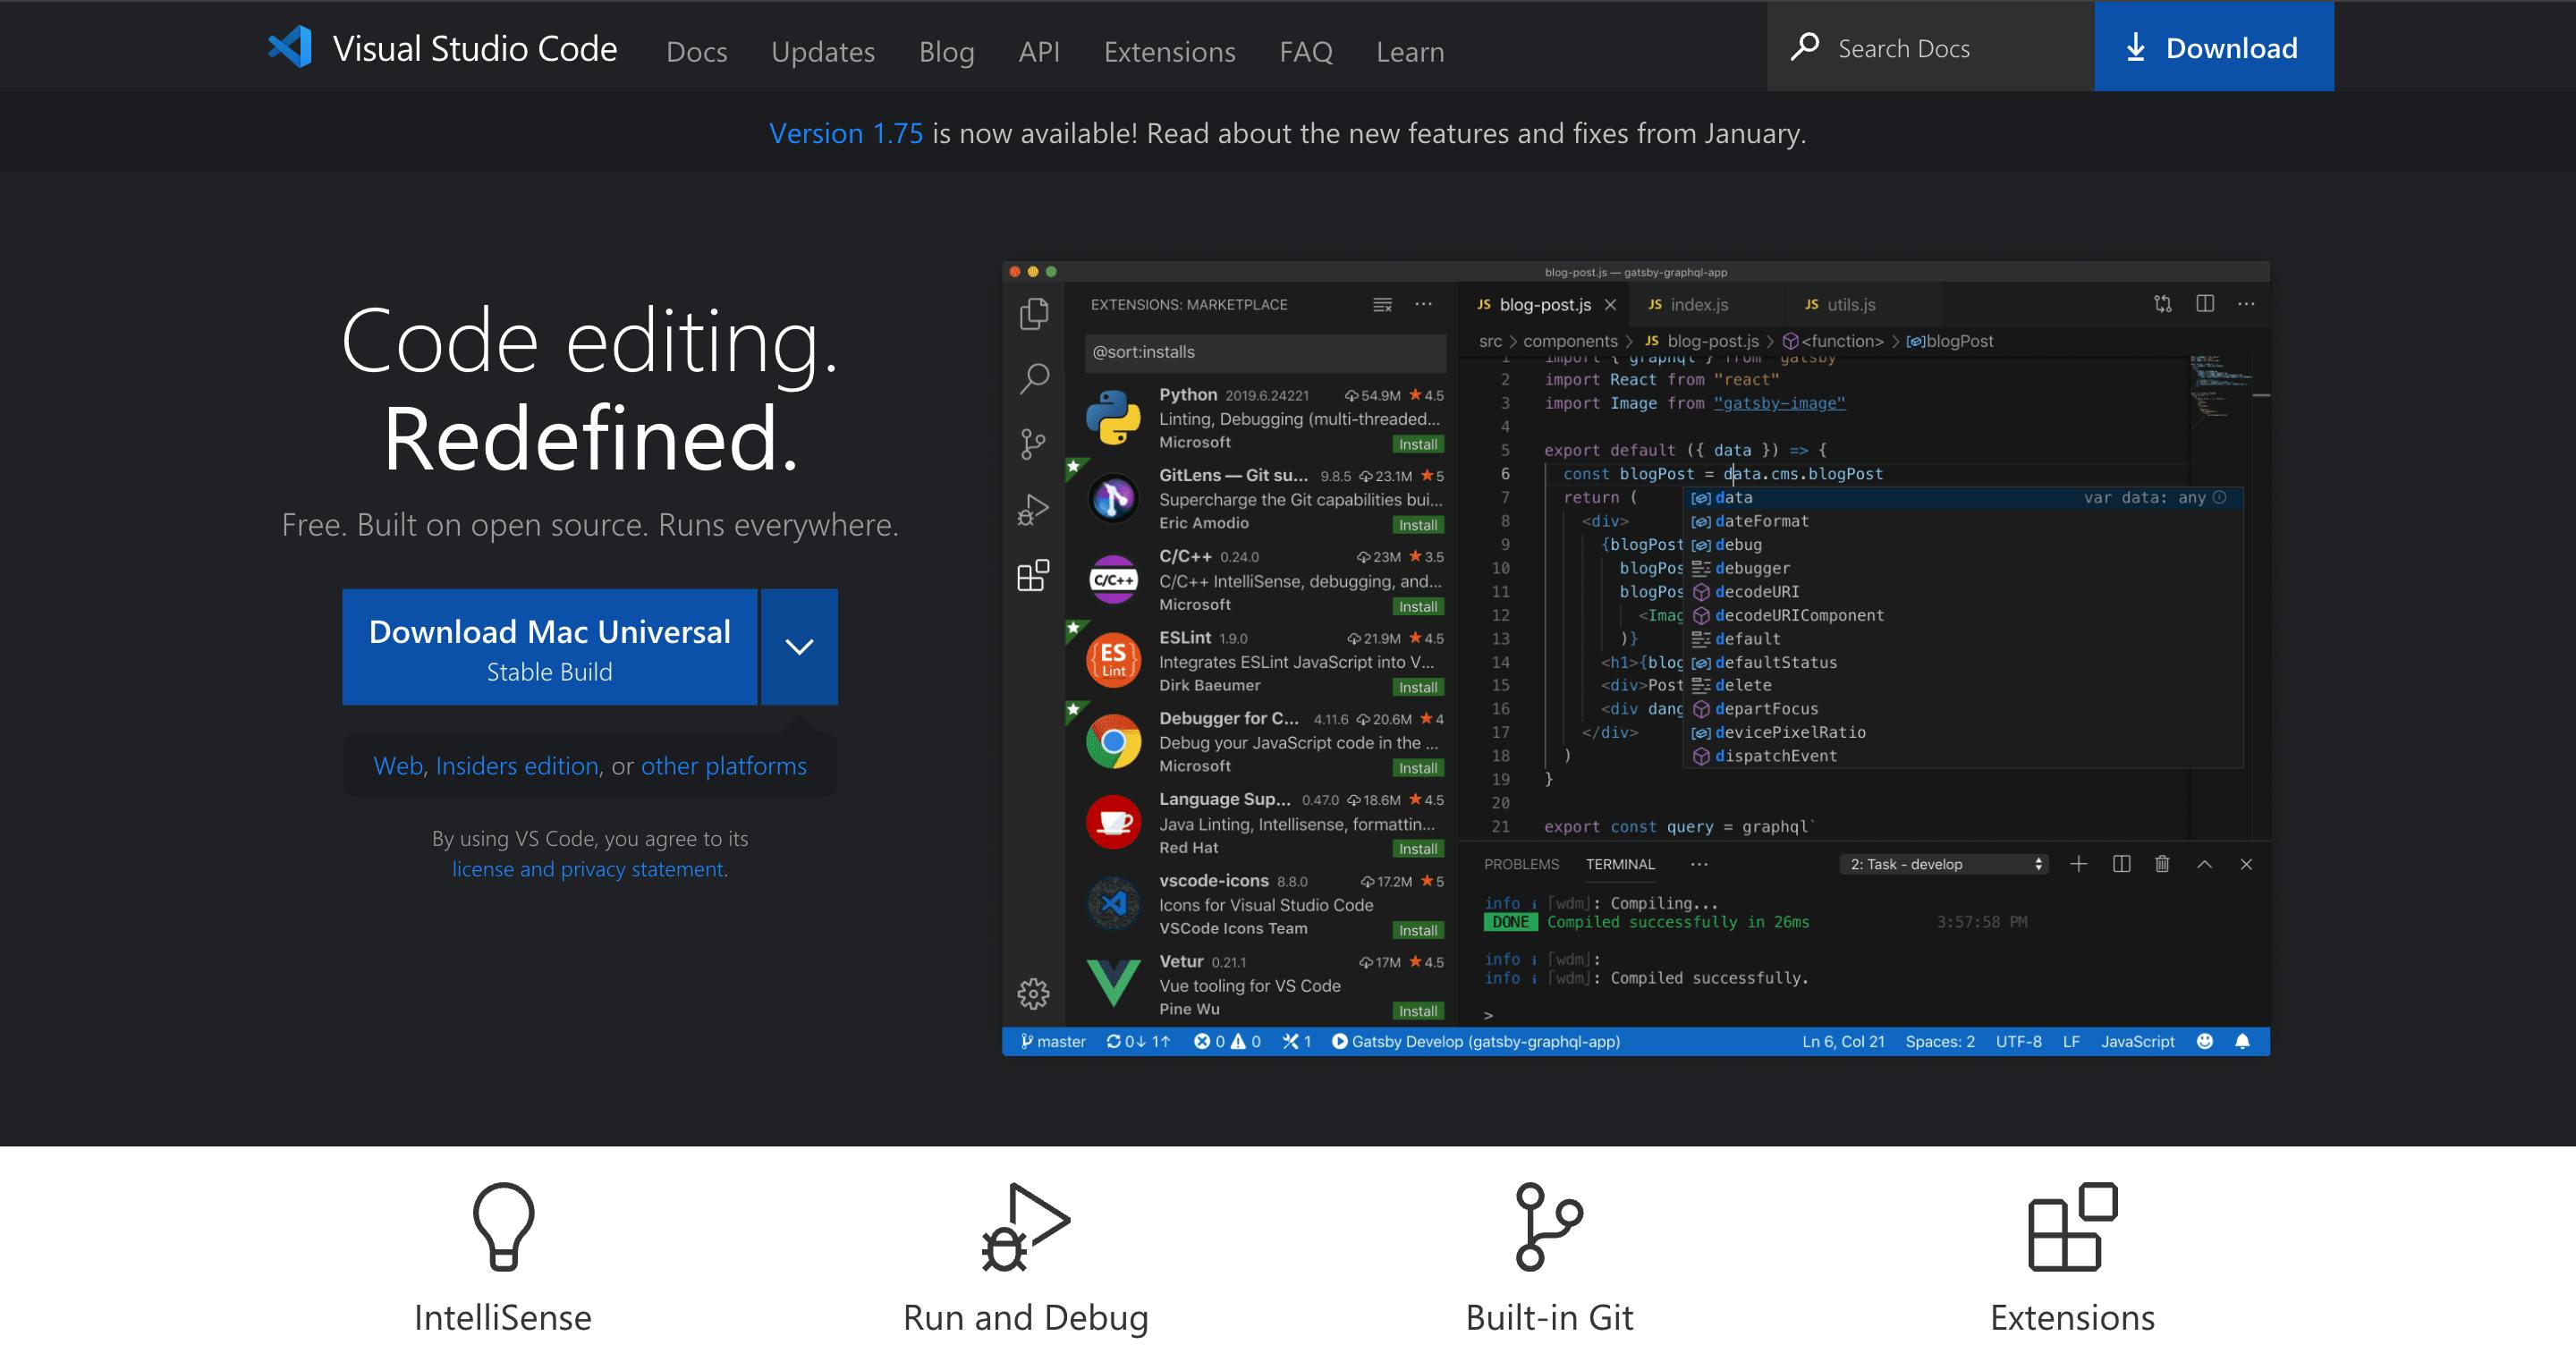
Step 03: Install VS Code: Simply visit code.visualstudio.com and download:
Step 04: Install Java(OpenJDK): OpenJDK distribution called Azul Zulu using Homebrew is recommended. Run the following commands in a Terminal:
brew tap homebrew/cask-versions
brew install --cask zulu11
Note: The Zulu OpenJDK distribution offers JDKs for both Intel and M1 Macs. This will make sure your builds are faster on M1 Macs compared to using an Intel-based JDK. If you have already installed JDK on your system, we recommend JDK 11. You may encounter problems using higher JDK versions.
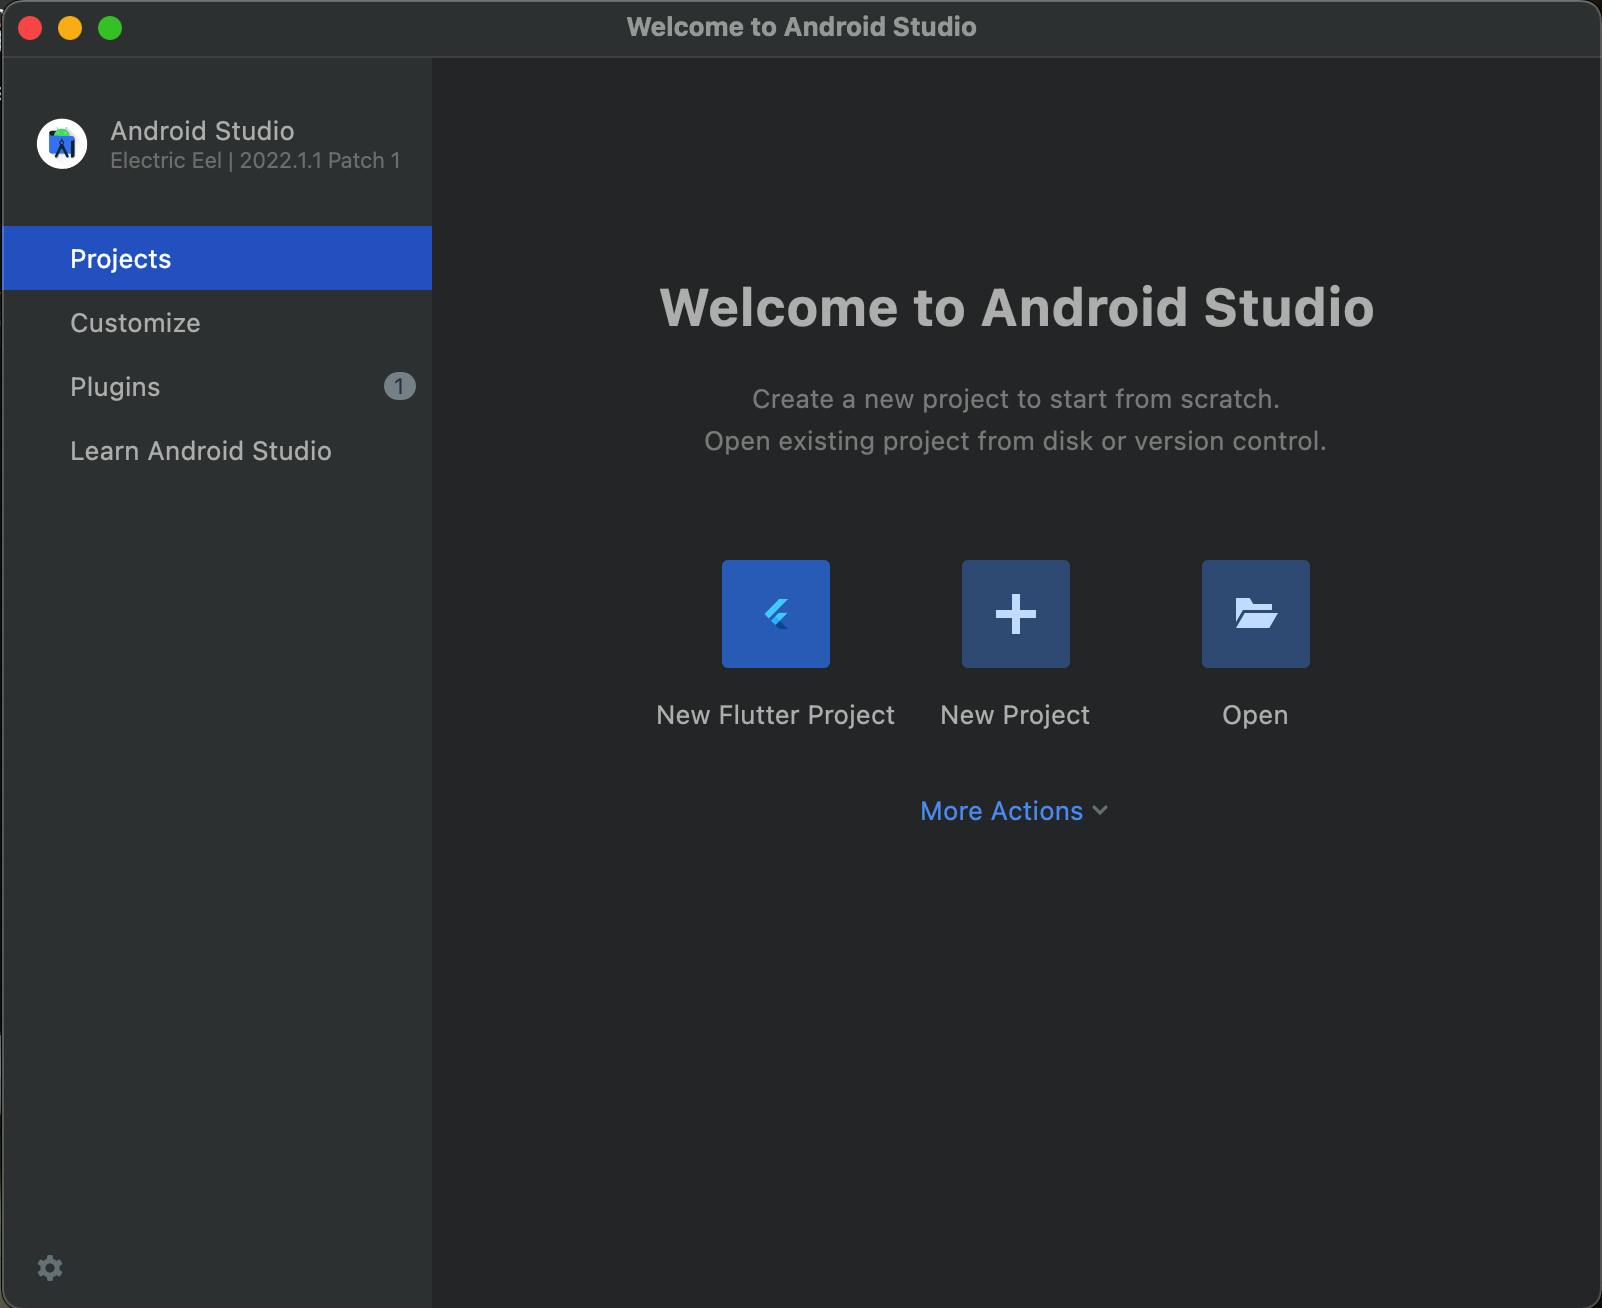
Step 05: Install Android Studio: Download and install Android Studio. While on the Android Studio installation wizard, make sure the boxes next to all of the following items are checked:
Android SDKAndroid SDK PlatformAndroid Virtual Device
Once setup has been finalized and you're presented with the Welcome screen, proceed to the next step:
Install the Android SDK
Android Studio installs the latest Android SDK by default. Building a React Native app with native code, however, requires the Android 12 (S) SDK in particular. Additional Android SDKs can be installed through the SDK Manager in Android Studio.
To do that, open Android Studio, click on the "More Actions" button, and select "SDK Manager".
The SDK Manager can also be found within the Android Studio "Preferences" dialog, under Appearance & Behavior → System Settings → Android SDK.
Select the "SDK Platforms" tab from within the SDK Manager, then check the box next to "Show Package Details" in the bottom right corner. Look for and expand the Android 12 (S) entry, then make sure the following items are checked:
Android SDK Platform 31Intel x86 Atom_64 System ImageorGoogle APIs Intel x86 Atom System Imageor (for Apple M1 Silicon)Google APIs ARM 64 v8a System Image
Next, select the "SDK Tools" tab and check the box next to "Show Package Details" here as well. Look for and expand the "Android SDK Build-Tools" entry, then make sure that 31.0.0 is selected.
Finally, click "Apply" to download and install the Android SDK and related build tools.
Configure the JAVA_HOME & ANDROID_HOME environment variable:
Add the following lines to your ~/.zshrc or ~/.zprofile (if you are using bash, then ~/.bash_profile or ~/.bashrc) config file:
open ~/.zhsrc
export JAVA_HOME=$(/usr/libexec/java_home -v 11.0)
export ANDROID_HOME=/Users/rizwan/Library/Android/sdk
export PATH=$PATH:$ANDROID_HOME/emulator
export PATH=$PATH:/Users/rizwan/Library/Android/sdk/platform-tools

// replace rizwan with your username.
Run source ~/.zshrc (or source ~/.bash_profile for bash) to load the config. Verify that ANDROID_HOME has been set by running echo $ANDROID_HOME and the appropriate directories have been added to your path by running echo $PATH
source ~/.zshrc
Step 06: Install Watchman: Watchman is a file-watching service that React Native uses to monitor changes in your project files. To install Watchman, run the following command in your Terminal:
brew install watchman
Note: macOS 12.5.1 is shipped with Ruby 2.6.8, but 2.7.5 is required by React Native. Check the installed version of ruby:
ruby --version
Step 07: Install RVM: It is used to control ruby's version.
\curl -sSL https://get.rvm.io | bash -s stable
Step 08: Setup Correct Ruby version:
brew install ruby@2.7
rvm install "ruby-2.7.6"
rvm use 2.7.6
Step 09: Install Xcode: React Native requires Xcode to be installed on your Mac to build iOS apps. You can download Xcode from the Mac App Store or from the Apple Developer website.
Step 10: Check Command Line Tools: Open XCode, then from the top menu click Xcode-settings. Then click "Locations" and Check Command Line Tools is selected or not.
Step 11: Use the built-in React Native Command Line Interface to generate a new project. Let's create a new React Native project called "AwesomeProject":
npx react-native@latest init AwesomeProject
Wait for it to finish:
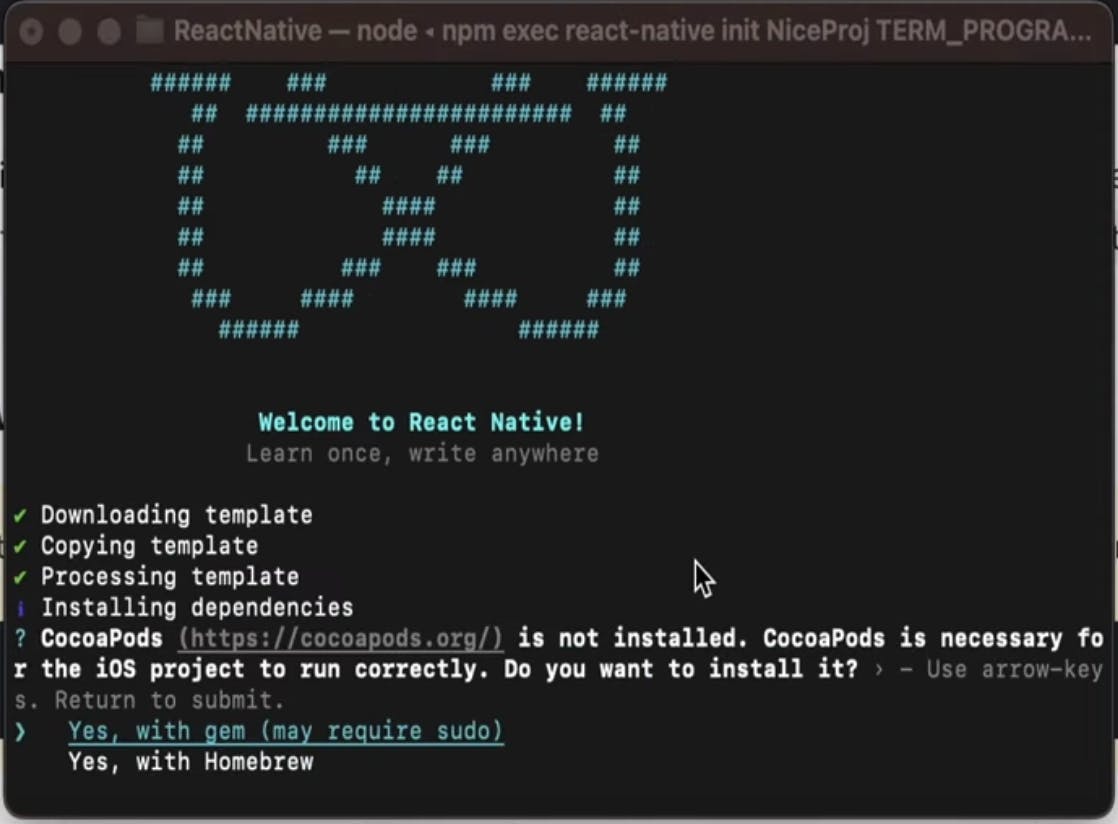
Click on the First option: Yes, with gem.
Step 12: Running your React Native application. Start Metro:
npx react-native start
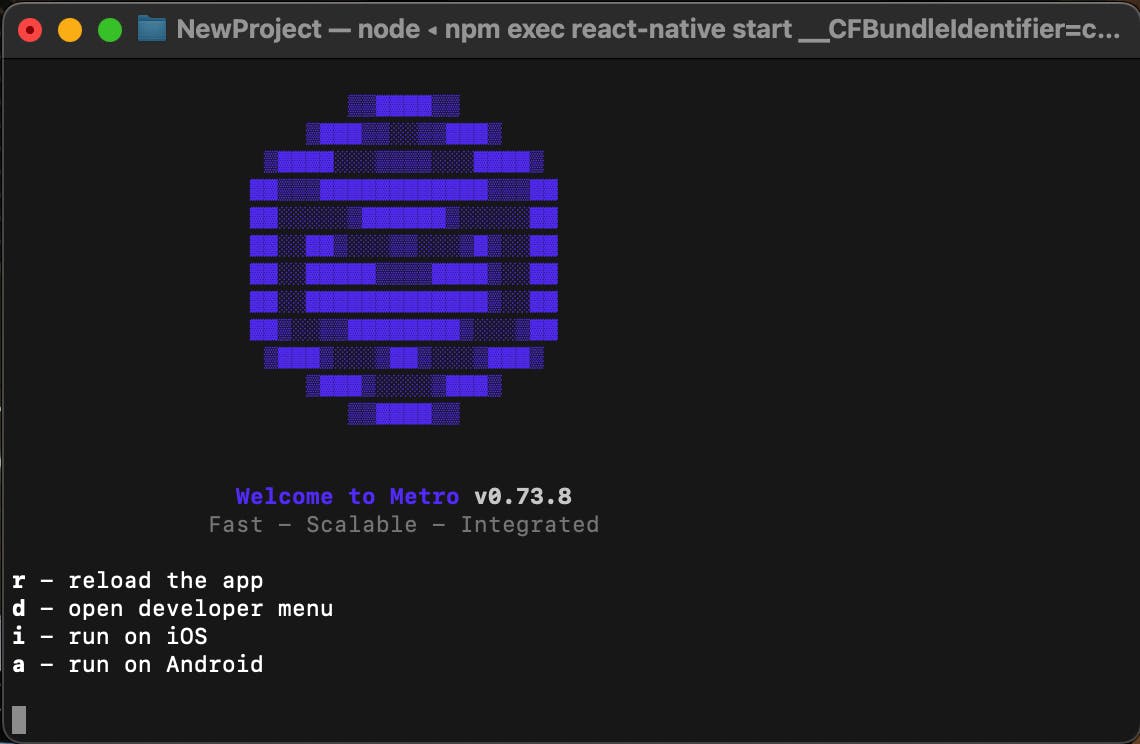
Type i (to run ios) or a (to run android).
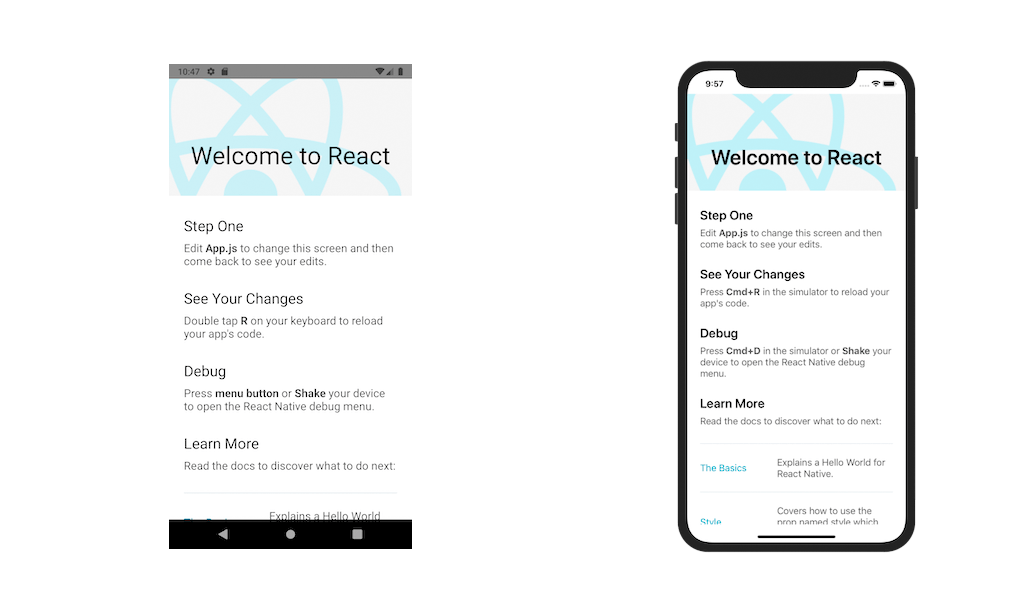
That's it! You have now successfully installed React Native CLI on your Mac. You can now start building your React Native apps.
If everything is set up correctly, you should see your new app running in your Android emulator or ios Simulator shortly:
Note: While running ios, if the pods missing error pops then :
cd ./ios
pod install
cd ../